Installing and initializing Nexus Repository Manager
Contents
The following instructions are for installing Nexus Repository Manager OSS as a stand-alone server. Nexus Repository Manager OSS is bundled with a Jetty instance that listens to all configured IP addresses on a host (0.0.0.0) and runs on port 8081 by default. Later we’ll setup nexus as a service, so it will be started automatically during each system boot.
As a first step, create a user nexus with password my_nexus_pw in order to use his home directory for the download. Then download the archive:
$ sudo useradd -d /home/nexus -m nexus
$ sudo passwd nexus
$ cd /home/nexus
$ sudo wget https://sonatype-download.global.ssl.fastly.net/nexus/oss/nexus-2.12.1-01-bundle.tar.gz
Now that we have the archive in our hands, let us uncompress it to the proper destination, which is /opt/nexus. Because we already created the user nexus, the uncompressed files should already have the correct owner and group set.
$ sudo tar xvzf nexus-2.12.1-01-bundle.tar.gz -C /opt
Using a generic symbolic link nexus to a specific version is a common practice which makes it easier to upgrade when a newer version is made available.
$ sudo ln -s /opt/nexus-2.12.1-01 /opt/nexus
Nexus Repository Manager OSS does not have any hardcoded directories. It will run from any directory. Besides, running the repository manager as the root user or a similarly privileged user is not recommended, as this practice poses serious security risks to the host operating system unnecessarily.
Now we will copy /opt/nexus/bin/nexus to /etc/init.d/nexus:
$ sudo cp /opt/nexus/bin/nexus /etc/init.d/nexus
Make sure the script is executable and owned by the root user.
We need to modify the script. Enter the following command and make the changes listed below:
$ sudo nano /etc/init.d/nexus
- Change
NEXUS_HOMEto the absolute folder location (e.g.,NEXUS_HOME="/opt/nexus") - Set the
RUN_AS_USER="nexus" - Change
PIDDIRto a directory where this user has read/write permissions, e.g.PIDDIR="home/nexus"
Press <ctrl> + o and then <enter> to save your changes. Press <ctrl> + x to quit.
With the following command, we will finally add nexus as a service to the run system of the Ubuntu server:
$ sudo update-rc.d nexus defaults
Now we are ready to launch nexus for the first time. Please note that nexus will automatically be started after rebooting the system because nexus is now included in the startup directories.
$ sudo service nexus start
We need to administer Nexus, so let us log in to the administration page. Enter the URL http://<ip-of-your-ubuntu-server>:8081/nexus and log in using admin and admin123 as your username and password. When you select the
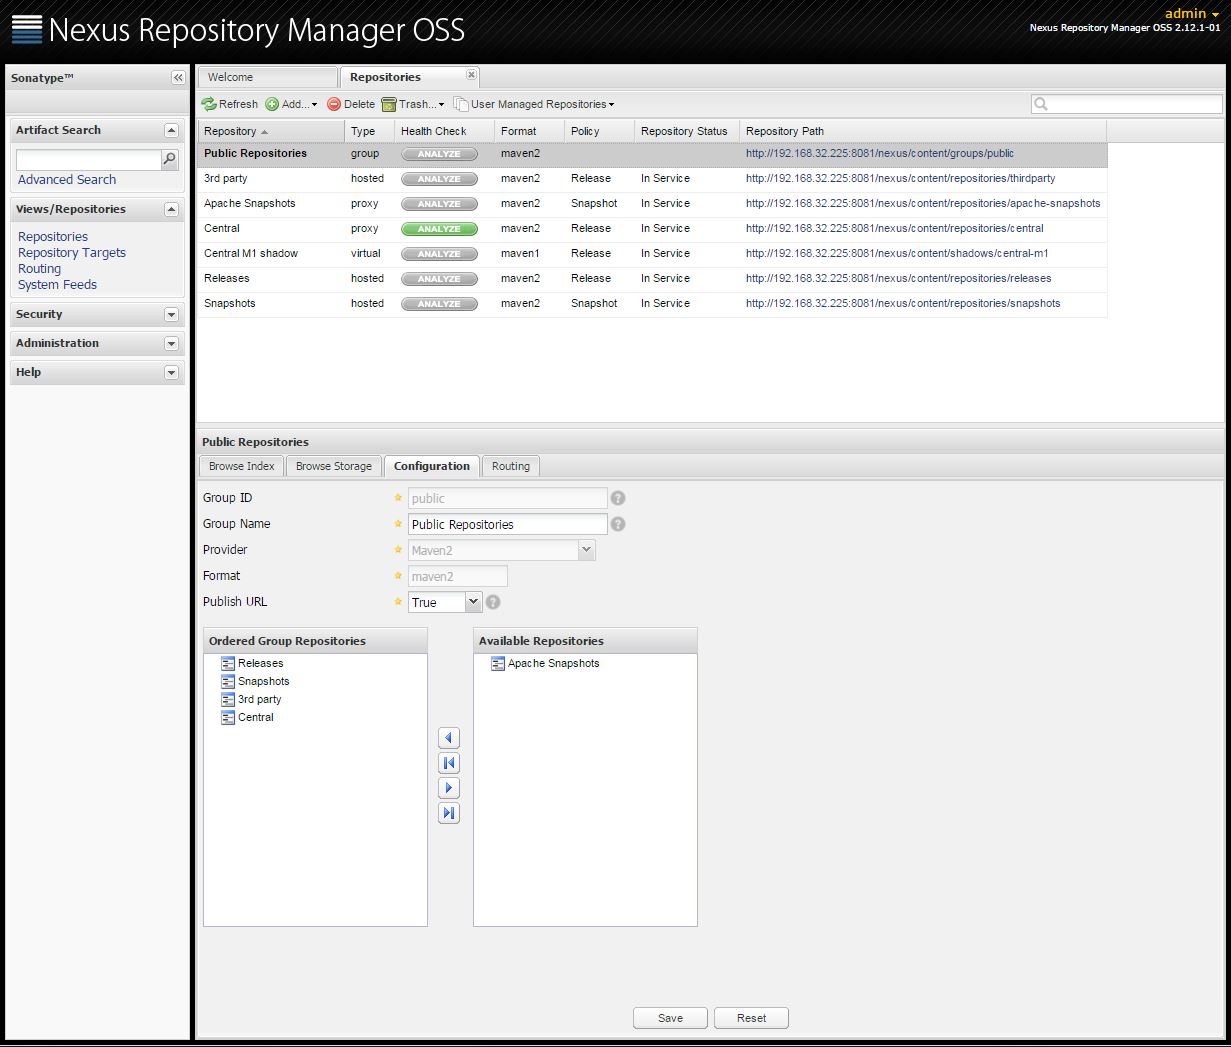
The first thing to do is check the settings of the Public Repositories. In the left column click on ‘Repositories’. When you select the ‘Public Repositories’ entry in the list of repositories on the right, the screen section below lists the grouped repositories under ‘Public’. There you should click on the ‘Configuration’ tab. See what it should look like:
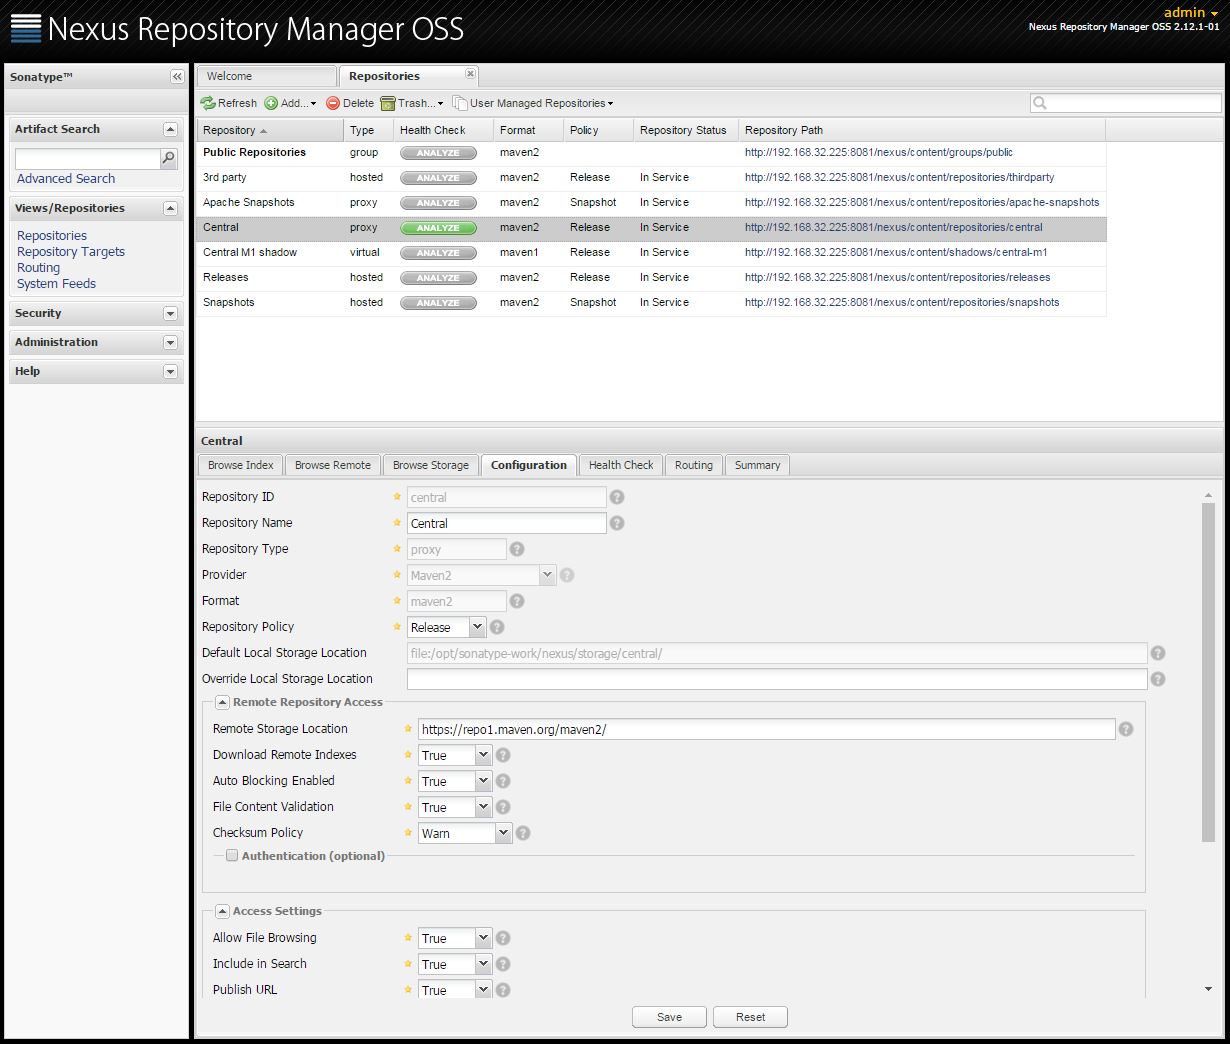
Select the ‘Central’ repository from the list above and see the correct entries as follows:
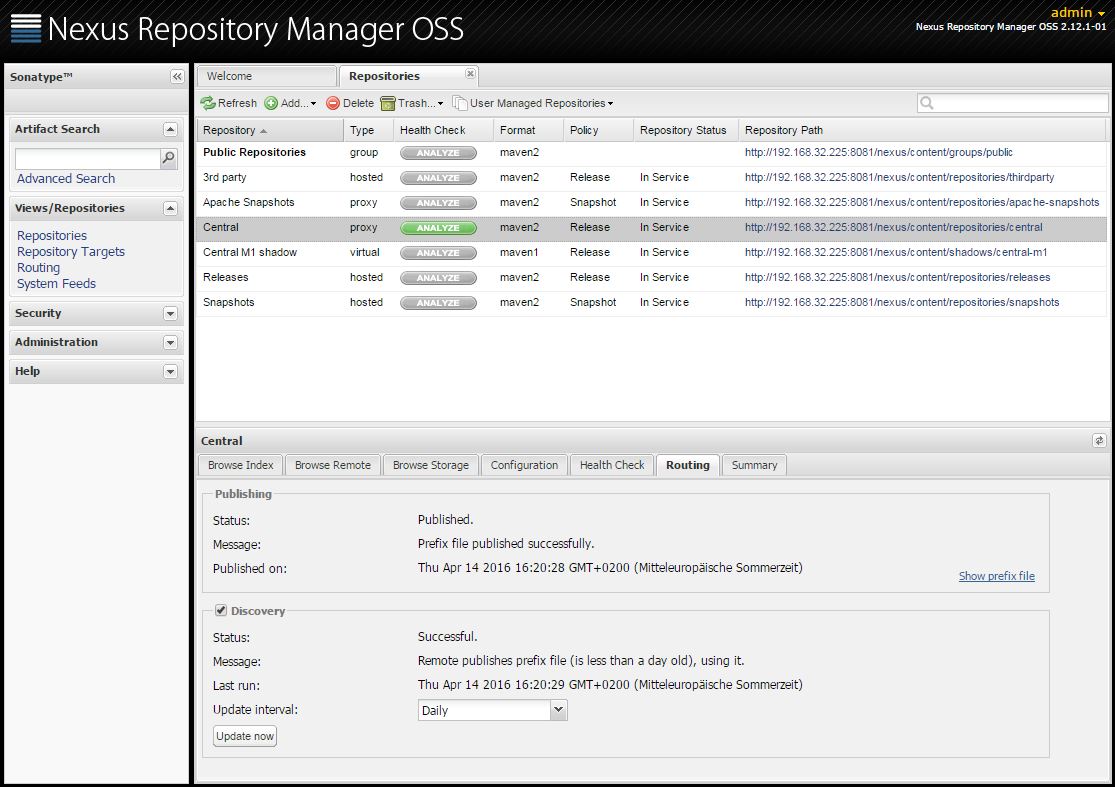
Now click on the ‘Routing’ tab and check if the status is ‘Successful’. If not, click on the ‘Update now’ button and come back here later to check the status again.