Wiring the display module to the NodeMCU
Contents
Wiring the display module to the NodeMCU
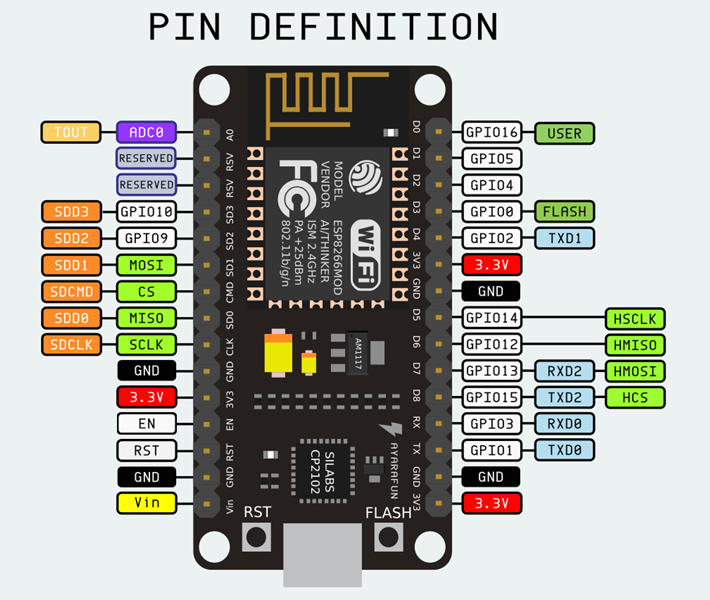
Although a picture can tell more than a thousend words, look at the pin / color table first:
|
e-Paper |
-> |
NodeMCU |
|
3.3V |
Red |
VCC |
|
GND |
Black |
GND |
|
DIN |
Blue |
D7 (MOSI) |
|
CLK |
Yellow |
D5 (SCK) |
|
CS |
Orange |
SS (D8) |
|
DC |
Green |
D3 |
|
RST |
White |
D4 |
|
BUSY |
Violet |
D2 |
Make sure you correctly locate the pins on your breadboard.

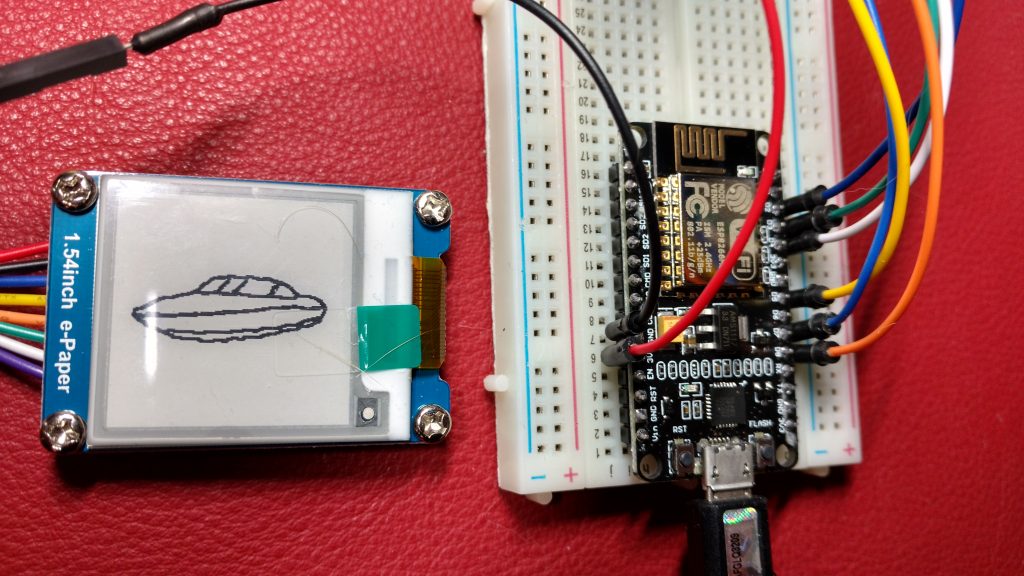
And this is how it finally looks like:

2 thoughts on - A simple NodeMCU / BME280 Weatherstation with WaveShare E-Paper 1.54 inch Display
..sehr informativ.. (bin über amazon link auf die Seite gekommen).. danke
First of all, thank you for all the information you have provided so far, I want to give you a quick update about connecting to NodeMCU, some new boards are coming with ESP8266EX which is much power friendly but for some reason a little bit more picky, Since I have both normal NodeMCU and that (Robodyn NodeM is a goos example) we must about using RESET on D4, instead I moved it DC BUSY and RST pins to D1, D2 and D3 respectively and it is working for both versions, I guess it would be good to have this reflected on your blog since It will discourage folks for using it. With this set I could, also, use originals WaveShare example successfully.
Here is the set of pins I am using, tested against GxEPD and EPDiF (WaveShare, smaller, less memory hanger and full featured)
// Pin definition
#define RST_PIN D0
#define DC_PIN D2
#define CS_PIN SS
#define BUSY_PIN D1