Prerequisites and some initial words on required libraries
Contents
Prerequisites:
- JDK 8
- Tomcat 8
- Eclipse
- Maven
When looking at the proposed skeleton of our WebSocket-based PlanningPoker backend application, we can already identify a few libraries that are needed.
package de.psychomechanics.edu.planningpoker;

import javax.websocket.OnClose;
import javax.websocket.OnError;
import javax.websocket.OnMessage;
import javax.websocket.OnOpen;
import javax.websocket.Session;
import javax.websocket.server.PathParam;
import javax.websocket.server.ServerEndpoint;
import javax.xml.bind.JAXBContext;
import javax.xml.bind.Marshaller;
import javax.xml.transform.stream.StreamSource;

@ServerEndpoint("/clientSocket/{user}")
  public class ClientEventSocketMediator {

  @OnMessage
  public void onMessage(String message, Session session) throws Exception {
    System.out.println("Mediator: Received message from client " + session.getUserProperties());
  }

  @OnOpen
  public void onOpen(Session session, @PathParam("user") String user) throws Exception {
    System.out.println("Mediator: Opened websocket channel for client " + user);
  }

  @OnClose
    public void onClose(Session session, @PathParam("user") String user) throws Exception {
    System.out.println("Mediator: closed websocket channel for client " + user);
  }

  @OnError
  public void onError(Throwable error) {
    System.err.println("PLANNING_POKER: " + error.getMessage());
  }

  private String marshallJson(Object jsonType, Class&;amp;lt;?&;amp;gt; classFile, boolean hasRoot) throws Exception {
    JAXBContext jc = JAXBContext.newInstance(classFile);
    Marshaller marshaller = jc.createMarshaller();
    // Set it to true if you need the JSON output to formatted
    marshaller.setProperty(Marshaller.JAXB_FORMATTED_OUTPUT, true);
    marshaller.setProperty("eclipselink.media-type", "application/json");
    // Set it to true if you need to include the JSON root element in the JSON output
    marshaller.setProperty("eclipselink.json.include-root", hasRoot);
    marshaller.setProperty(Marshaller.JAXB_ENCODING, "UTF-8");
    // Marshal the members object to JSON and send it to ByteArrayOutputStream
    StringWriter writer = new StringWriter();
//    if(jsonType instanceof Users) {
//      marshaller.marshal((Users) jsonType, writer);
//    }
    String tmpStr = writer.getBuffer().toString();
    return tmpStr;
  }
}
Somehow this resembles REST API programming using JAX-RS. The message types (e.g., text, XML, JSON,…) that a JAX-RS service understands is controlled using the @Produces and @Consumes annotations. Since we don’t have such annotations when working with WebSocket (WebSocket layers on top of TCP, considered as transport layer in TCP/IP model, with much less protocol services than HTTP), we have to take care of the data types ourselves. That is the reason for the marshallJson() method in the above code.
Eclipselink is the reference implementation of JPA 2.0. But its not its JPA capabilities that we need, but its XML binding features. The EclipseLink MOXy component enables Java developers to efficiently bind Java classes to XML or JSON. If you want more detail see http://www.eclipse.org/eclipselink/.
Wow, that was quite a lot of terminology from the Java world. Try to get a bird’s eye view of it by reading this summary:
Jersey – In order to simplify development of RESTful Web services and their clients in Java, a standard and portable JAX-RS API has been designed. Jersey is the reference implementation of the JAX-RS API. We need Jersey for its WebSocket capabilities.
EclipseLink Moxy is an implementation of the JAXB API. Its a library to use for data-binding or stream processing of XML and JSON. We want to exchange JSON data between client and server.
Jersey-media-moxy – Jersey is an implementation of JAX-RS. One aspect of JAX-RS is passing documents around – often XML or JSON. To do that Jersey needs to know what underlying library to use for data-binding or stream processing. So jersey-media-moxy exists as a kind of jersey plugin dependency which you can use to configure Jersey to use Moxy for your object serialisation needs. Jersey-media-moxy module is one of the modules in Jersey 2.x where you don’t need to explicitly register it’s features e.g. MoxyJsonFeature. Once Jersey detects it’s presence in class path, it automatically registers it.
So what libraries do we have so far:
javax.servlet: See Oracle’s package description: “The javax.servlet package contains a number of classes and interfaces that describe and define the contracts between a servlet class and the runtime environment provided for an instance of such a class by a conforming servlet container.” Wow, that’s kinda abstract. What we really need this library for is its servlet capabilites. Without it, writing a servlet would be impossible. No webpage in our project could be served to a browser. Well, not that we have any. So we can just drop it.
<dependency>
    <groupId>javax.servlet</groupId>
    <artifactId>javax.servlet-api</artifactId>
    <version>3.1.0</version>
    <scope>provided</scope>
</dependency>
The following four dependencies are definitely needed:
<dependency><groupId>org.glassfish.jersey.containers</groupId><!-- if your container implements Servlet API older than 3.0, use "jersey-container-servlet-core" --><artifactId>jersey-container-servlet</artifactId><version>2.25.1</version></dependency>
 <dependency>
    <groupId>javax.websocket</groupId>
    <artifactId>javax.websocket-api</artifactId>
    <version>1.1</version>
 </dependency>
<dependency>
   <groupId>org.eclipse.persistence</groupId>
   <artifactId>eclipselink</artifactId>
   <version>2.6.3</version>
</dependency>
To use MOXy as our JSON provider we need to add jersey-media-moxy module to our pom.xml file:
<dependency>
    <groupId>org.glassfish.jersey.media</groupId>
    <artifactId>jersey-media-moxy</artifactId>
    <version>2.25.1</version>
</dependency>
That’s for the needed libraries., We also need two plugins. The maven-compiler-plugin and tomcat7-maven-plugin.
<build>
  <finalName>planningpoker</finalName>
  <plugins>
    <plugin>
      <groupId>org.apache.maven.plugins</groupId>
      <artifactId>maven-compiler-plugin</artifactId>
      <version>3.6.1</version>
      <inherited>true</inherited>
      <configuration>
        <source>1.8</source>
        <target>1.8</target>
      </configuration>
    </plugin>
    <!-- -->
    <!-- Tomcat plugin -->
    <!-- -->
    <plugin>
      <groupId>org.apache.tomcat.maven</groupId>
      <artifactId>tomcat7-maven-plugin</artifactId>
      <version>2.2</version>
      <configuration>
        <url>http://localhost:8080/manager/text</url>
        <update>true</update>
        <!-- *(From maven > settings.xml)* -->
        <server>TomcatAasServer</server>
      </configuration>
    </plugin>
  </plugins>
</build>
The maven-compiler-plugin is used to compile the sources of our project. General instructions on how to use the Compiler Plugin can be found on the usage page.
In the prerequisites, we saw Tomcat 8 listed. Currently there exists no Tomcat 8 version of Tomcat Maven plugin. We can use the version 7 of it instead. Don’t forget to enter the correct values in the tomcat7-maven-plugin section of the pom.xml.Two other files also need your attention:
tomcat-users.xml
<tomcat-users>
    <role rolename="manager-gui"/>
    <role rolename="manager-script"/>
    <user username="admin" password="password" roles="manager-gui,manager-script" />
</tomcat-users>
settings.xml (maven > conf)
<servers>
<server>
<id>TomcatServer</id>
<username>admin</username>
<password>password</password>
</server>
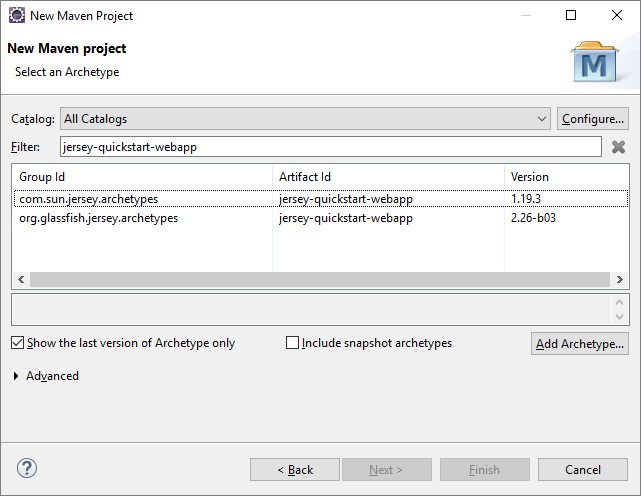
</servers> If your Java / Eclipse / Tomcat / Maven installation is functional, you can create a new Maven project in Eclipse. During creation, you can specify an archetype which is already close to what we have in mind.
After you’ve created the project, use the pom.xml which is fully listed in the next chapter of this tutorial.