Setting up Tomcat and checking WebSocket connection
Contents
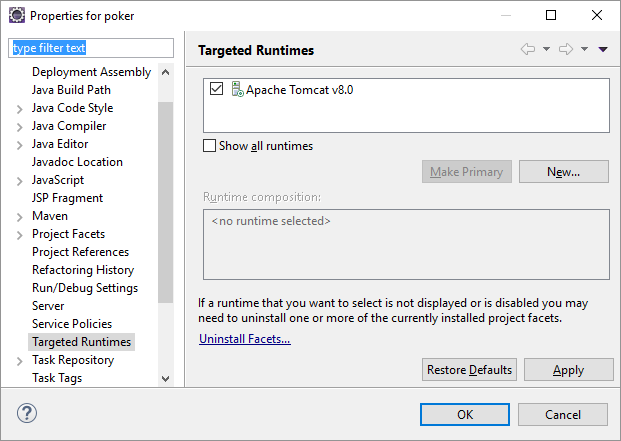
Before we continue, we need to make sure that the backend application is responding to WebSocket connection requests. So let’s assume you already have configured Tomcat 8 as a targeted runtime in out project’s Eclipse Properties.
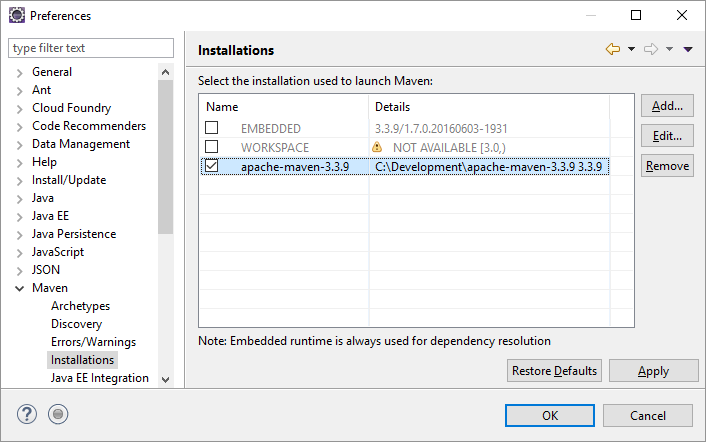
Let’s also assume, that Maven is properly configured in the Eclipse Preferences…
… and that the run configuration of our program is correct….
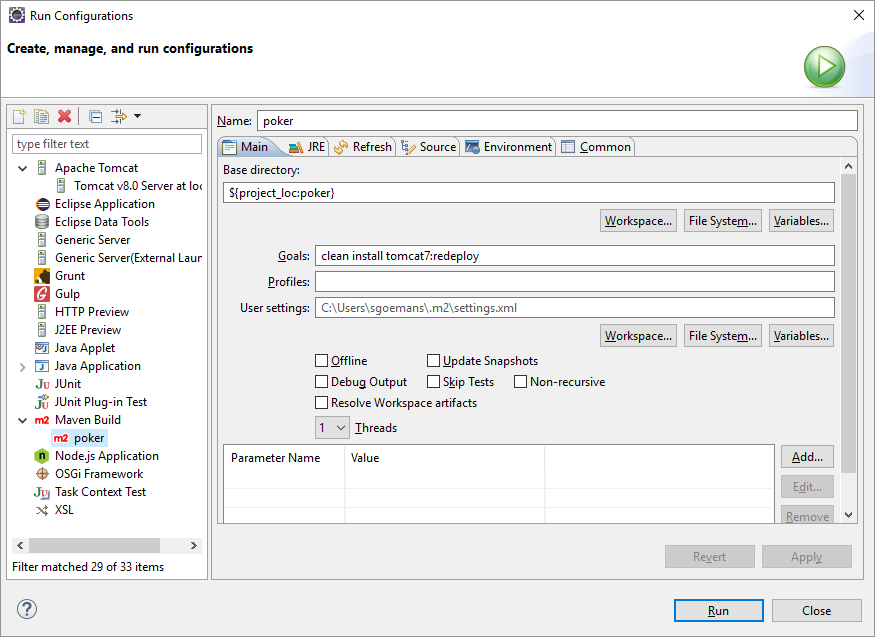
… so that the program compiles and build fine when we build it.
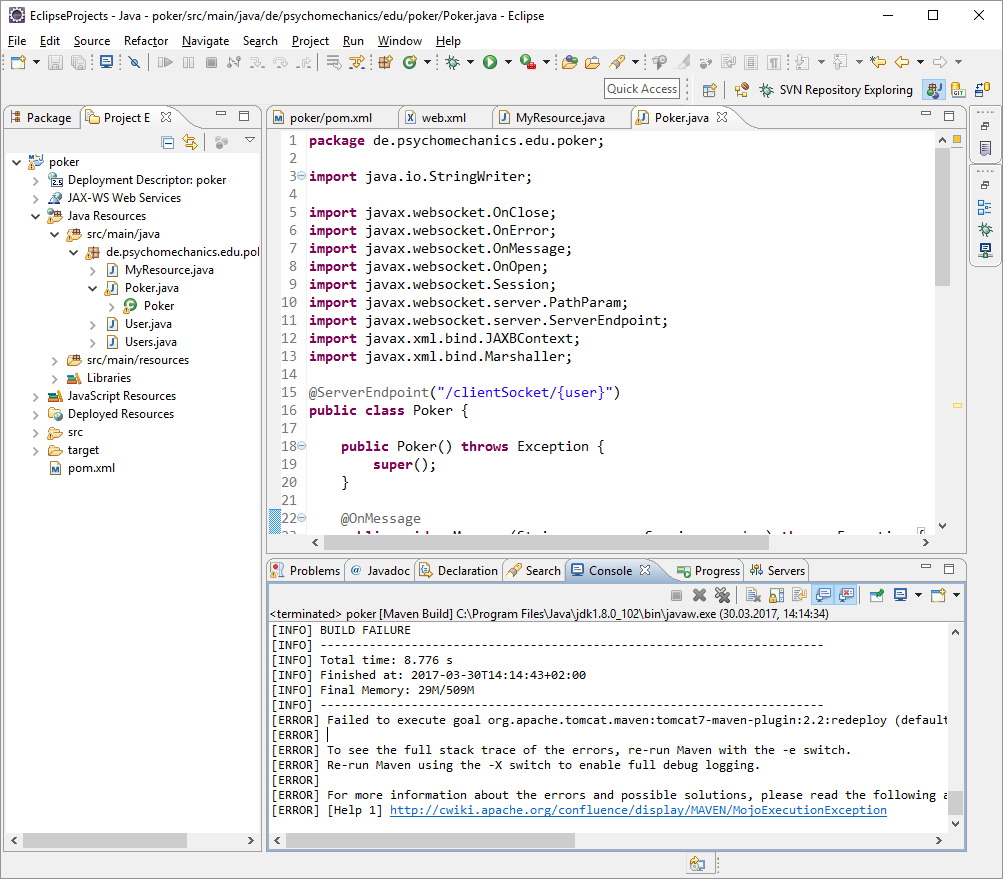
Aaarrgghh, what’s wrong now ? The error reads: [ERROR] Failed to execute goal org.apache.tomcat.maven:tomcat7-maven-plugin:2.2:redeploy (default-cli) on project poker:
Cannot invoke Tomcat manager: Software caused connection abort: socket write error -> [Help 1]
- Make sure the
tomcat-users.xmlfile is absolutely correct. Check every single character and XML syntax. - It is important that your
tomcat-users.xmlhas the correct roles setup. Having the rolemanager-scriptassigned to the user who is specified in the server element in maven’ssettings.xmlfile is vital. - Right-click on your Tomcat server entry in Eclipse’s server tab and select Add and Remove. Then you can select the poker app and add it to the server configuration.
If nothing helps, you can remove your Tomcat server from Eclipse and rely on your standalone Tomcat. Stop Tomcat from within Eclipse’s server tab and delete the server from the list.
Then you can launch Tomcat by running the startup script in Tomcat’s home/bin directory. If you want to enable Tomcat’s remote debugging feature to be usable from within Eclipse, the startup.bat script ought to look like this:
@echo off
rem Licensed to the Apache Software Foundation (ASF) under one or more
rem contributor license agreements.  See the NOTICE file distributed with
rem this work for additional information regarding copyright ownership.
rem The ASF licenses this file to You under the Apache License, Version 2.0
rem (the "License"); you may not use this file except in compliance with
rem the License.  You may obtain a copy of the License at
rem
rem     http://www.apache.org/licenses/LICENSE-2.0
rem
rem Unless required by applicable law or agreed to in writing, software
rem distributed under the License is distributed on an "AS IS" BASIS,
rem WITHOUT WARRANTIES OR CONDITIONS OF ANY KIND, either express or implied.
rem See the License for the specific language governing permissions and
rem limitations under the License.

rem ---------------------------------------------------------------------------
rem Start script for the CATALINA Server
rem ---------------------------------------------------------------------------

setlocal
set JPDA_ADDRESS=8000
set JPDA_TRANSPORT=dt_socket
rem Guess CATALINA_HOME if not defined
set "CURRENT_DIR=%cd%"
if not "%CATALINA_HOME%" == "" goto gotHome
set "CATALINA_HOME=%CURRENT_DIR%"
if exist "%CATALINA_HOME%\bin\catalina.bat" goto okHome
cd ..
set "CATALINA_HOME=%cd%"
cd "%CURRENT_DIR%"
:gotHome
if exist "%CATALINA_HOME%\bin\catalina.bat" goto okHome
echo The CATALINA_HOME environment variable is not defined correctly
echo This environment variable is needed to run this program
goto end
:okHome

set "EXECUTABLE=%CATALINA_HOME%\bin\catalina.bat"

rem Check that target executable exists
if exist "%EXECUTABLE%" goto okExec
echo Cannot find "%EXECUTABLE%"
echo This file is needed to run this program
goto end
:okExec

rem Get remaining unshifted command line arguments and save them in the
set CMD_LINE_ARGS=jpda
:setArgs
if ""%1""=="""" goto doneSetArgs
set CMD_LINE_ARGS=%CMD_LINE_ARGS% %1
shift
goto setArgs
:doneSetArgs

call "%EXECUTABLE%" jpda start %CMD_LINE_ARGS%

:end
The important modifications are:
set JPDA_ADDRESS=8000set JPDA_TRANSPORT=dt_socketcall "%EXECUTABLE%" jpda start %CMD_LINE_ARGS%Ok, everything should have been built and deployed correctly, so we can start testing what we’ve accomplished so far. To issue a websocket connection, we can use a few REST frontend client browser plugins for Chrome. I suggest to use ARC. See a screenshot of the UI shortly before we make our first connection to the WebSocket endpoint we just created.
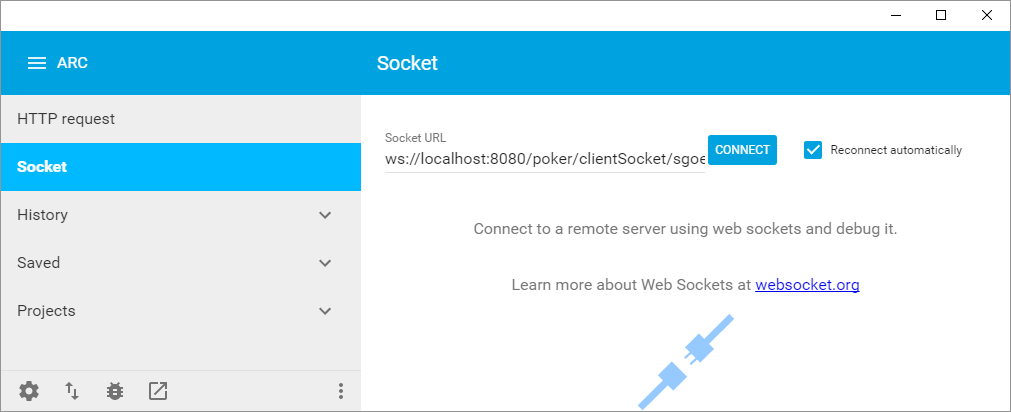
The correct URL format looks like this:
ws://<host>:<port>/<web-root>/<server-endpoint>/{username}
A typical example looks like this:
ws://localhost:8080/poker/clientSocket/sgoemans
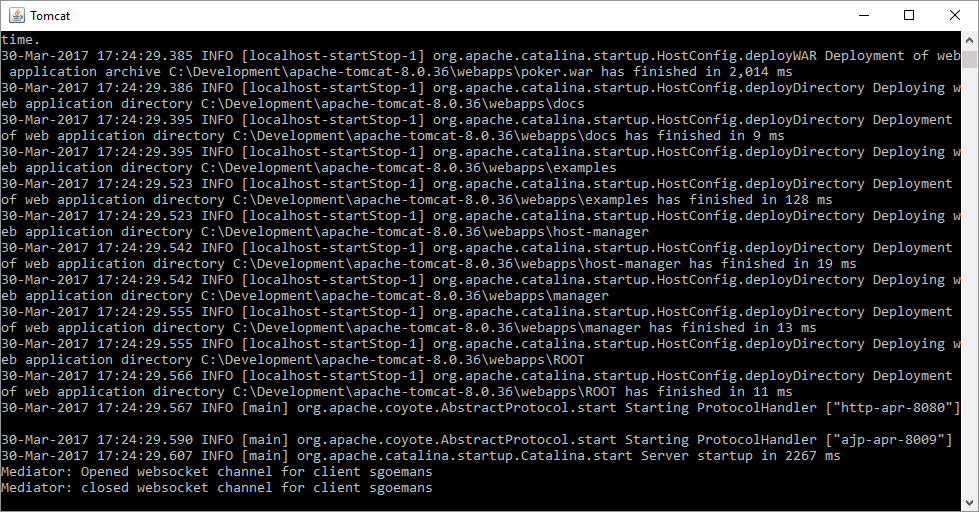
Enter this into the connection string of the client plugin and click on the connect button. The console output from our program is displayed either on the Eclipse console pane. In case you used a standalone instance of Tomcat, the console output is displayed in the terminal windows which was launched with the Tomcat startup script.
After connecting and disconnecting using the client plugin, the terminal window looks like this: